
Tools and Preparation
Before you sharpen a lawn mower blade, identify the mower’s power source and blade attachment in the owner’s manual. Models differ in fasteners, access points, and approved handling, so use the manual to guide preparation. Gather equipment that fits your mower and blade rather than assuming a universal socket or sharpening method. Set up on a firm, clear surface and confirm the mower cannot start before reaching near the blade.
Tools to Gather
Gather the equipment before beginning so you do not need to search for tools while the mower is open.
- Owner’s manual: Check the model’s blade-removal instructions, approved mower position, fastener details, and safety directions before selecting tools.
- Hand tools: Choose a correctly fitting socket, wrench, or other tool suited to the mower’s blade fastener; avoid forcing an ill-fitting tool.
- Sharpening tool: Select a compatible metal file or angle grinder based on the blade design and the manufacturers’ guidance.
- Blade holder: Have a sturdy vise or clamp ready to secure the removed blade without obstructing its cutting edge.
- Protective gear and balancer: Set out safety gloves, eye protection, and a blade balancer suitable for the blade’s center opening.
Match every tool to the mower and blade manufacturers’ instructions; do not substitute a tool that does not fit.
Secure the Mower
Park the mower on a firm, level surface and set its controls to off. Follow the owner’s manual to isolate its power source: disconnect the spark plug lead on a gas mower, unplug a corded electric model, or remove or isolate a battery as directed. If the mower has a removable ignition key, take it out and keep it away from the work area. Follow the manual’s instructions for positioning and supporting the mower; do not reach underneath while it can shift or roll. Before moving near the blade, check that the power source is disconnected, the controls remain off, and the mower is stable. Start only when all three checks are clear.
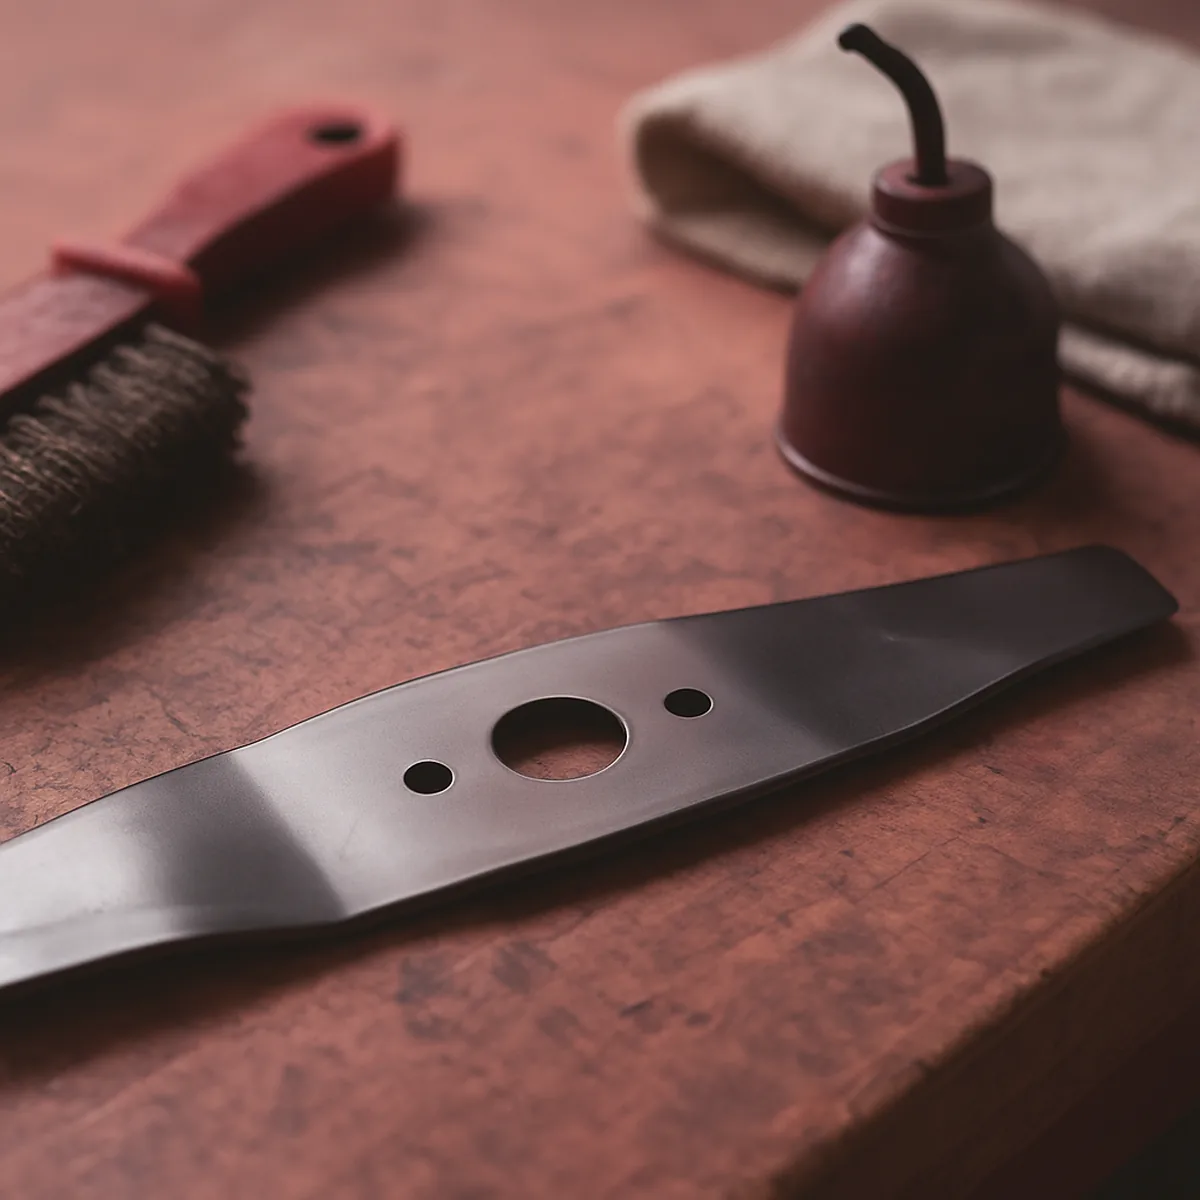
Remove and Inspect the Blade
Remove the blade before sharpening so you can work with its full cutting edge and see its condition clearly. Your mower’s owner’s manual is the reference for the removal method and the tools required for your model. Keep the blade’s installed orientation identifiable throughout removal, since it must be reinstalled in the correct direction. Inspect the exposed blade before deciding whether it is suitable for reuse.
Mark the Blade Orientation
Use the mower owner’s manual to confirm the blade-removal procedure and the specified tools before loosening any fastener.
- Consult the manual for the mower’s blade-removal method and the wrench, socket, or other tool it specifies for the blade fastener.
- Identify which blade face points toward the mower deck, and note the installed direction, including any rotation or leading-edge markings shown in the manual.
- Before loosening the fastener, mark the deck-facing side and installed direction on the blade with a marker, keeping marks clear of the cutting edge.
- Follow the manual’s method to hold the blade and loosen its fastener with the specified tool; remove the blade and any washers in order.
- Keep the blade markings visible after removal and compare them with the manual’s orientation diagram to confirm which face and end were installed where.
Check the marks and manual diagram once more before moving on; they provide a clear reference for the blade’s original position.
Check for Damage
With the blade removed, examine both faces, the cutting edge, and the area around the mounting hole. Use the findings below to decide whether the blade can remain in service or needs replacement.
| Inspection finding | Next action |
|---|---|
| A crack is visible anywhere on the blade, including near the mounting hole or along an edge. | Do not sharpen the blade for reuse; replace it according to the mower manufacturer’s guidance. |
| The blade has severe damage, such as a bent section, a deep gouge, or a missing piece. | Do not attempt to restore it by sharpening; follow the manufacturer’s replacement guidance. |
| The cutting edge is excessively worn, with substantial material loss or a rounded profile that leaves little original edge. | Check the manual’s criteria and replace the blade if it is beyond the manufacturer’s service limits. |
| No cracks, severe damage, or excessive wear are apparent on the blade or its cutting edge. | The blade appears serviceable for further maintenance; use the manual’s instructions to determine whether it can be reused. |
When damage is present, replacement—not sharpening for reuse—is the practical choice; follow the mower manufacturer’s guidance for the correct blade.
Sharpen the Cutting Edge
The cutting edge is the beveled face that meets the grass, and its original profile guides the sharpening work. Follow that existing bevel rather than creating a different edge shape. Controlled strokes let you restore sharpness without removing more metal than needed. Check your progress often, then give both ends comparable attention.
Follow the Existing Bevel
Clamp the removed blade securely in a vise, with the cutting edge accessible and steady. Use these controlled steps to sharpen along the existing bevel:
- Look across the cutting edge to find the sloped bevel; its angle and width show the path your file or grinder should follow.
- With a metal file, push in smooth strokes along the bevel, moving from the blade’s inner cutting area toward its outer end.
- If using an angle grinder, make brief, light passes that track the same bevel instead of holding the wheel in one spot.
- Pause after several passes and inspect the edge in good light; continue only where dullness or small nicks remain visible.
- Keep each pass controlled and consistent, stopping as soon as the cutting edge looks continuous rather than removing metal to make it razor-sharp.
For a practical edge check, look for a clean, even line with no obvious dull sections or burrs. If the bevel remains consistent from end to end, sharpening is complete.
Keep Both Sides Even
Sharpen each end of the blade in a comparable way. Removing a similar amount of metal from both ends helps preserve the blade’s balance; taking substantially more from one side can make the finished blade uneven.
Compare the ends as you work: use the same sharpening method, follow each existing bevel, and make a similar number of controlled passes where the edges need attention. The number of strokes may differ if wear is not identical, so judge progress by the amount of material removed and the condition of each cutting edge, not by stroke count alone.
Check the blade manufacturer’s instructions before choosing a sharpening method or procedure, since the blade’s design determines what is appropriate. The practical takeaway is simple: sharpen both ends comparably, then confirm balance before the blade returns to service.
Check Balance and Reinstall
Balancing and refitting are the final steps before a sharpened lawn mower blade goes back into service. An uneven blade can cause vibration and strain during mowing, so check its balance before installation. Reinstall it in the orientation you marked during removal, using the mower’s specified hardware and fastening procedure. Finish with a careful reassembly check before restoring power.
Balance the Blade
Place the blade’s center hole on an appropriate blade balancer, such as a cone-style model, with the balancer on a stable, level surface. Let the blade settle without touching it; a level blade indicates that its ends are balanced.
If one end drops, that end is heavier. Follow the balancer and mower manufacturers’ instructions to remove a small amount of metal from the heavier end, using a controlled method that does not alter the blade’s shape. Make a modest adjustment, then return the blade to the balancer and check again.
Repeat the check after each adjustment rather than removing a large amount at once. If the blade still will not balance after careful correction, do not reinstall it; replace it with a suitable blade.
Secure It Correctly
Before fitting the blade, use the mark you made during removal to confirm its orientation. Seat the blade and reinstall the specified hardware in the correct order.
- Match the orientation mark so the blade returns to its original position, with its cutting edge facing the correct direction beneath the mower deck.
- Seat the blade flat against its mounting surface; check that it is not caught on debris and that the center opening aligns with the spindle.
- Refit the specified washer, spacer, or other retaining parts in their original positions, using only hardware approved for that mower model.
- Fasten the retaining hardware by following the mower manufacturer’s stated sequence and method; do not substitute an estimated torque or tightening procedure.
- Before restoring power, account for every wrench, socket, and other tool, and make sure none remains under the deck or near the blade.
As a final reassembly check, confirm the blade sits correctly, the retaining hardware is secure according to the manual, and the mower is clear of tools. Restore power only after those checks are complete.
Common Errors and When to Replace
A clean-looking cutting edge is not the only test of a successful sharpening job. Excessive grinding can alter the blade’s shape, while a blade that is cracked or badly bent may no longer be safe to use. Check the blade’s condition and balance before deciding whether sharpening is appropriate. If its condition is uncertain, follow the mower manufacturer’s service guidance.
Avoid Excessive Grinding
Grinding too long in one spot creates heat that can damage the cutting edge. If the metal turns blue or straw-coloured, stop and let the blade cool; use shorter passes and check the edge often. Do not quench a hot blade, since rapid cooling can affect the metal.
Changing the original bevel can leave a weak edge or make the blade cut poorly. Match the existing bevel instead of forcing a new lawn mower blade sharpening angle; compare the two sides visually as you work. Removing too much material can also alter the blade’s shape. Stop if the edge becomes unusually thin or the blade’s profile changes, and consult the manufacturer’s service guidance.
After sharpening, check balance with a blade balancer rather than assuming equal-looking edges are balanced. Correct a slight imbalance only by removing a small amount of metal from the heavier end, then test again; do not keep grinding if the blade will not balance. Before fitting it, use the orientation mark and mower manual to confirm the cutting edge faces the correct direction. A backwards blade may not cut properly, so remove and reinstall it correctly before mowing.
Replace Damaged Blades
Replace a blade with a crack, severe damage, or a shape that cannot be restored under the manufacturer’s guidance. Cracks may be difficult to see beneath dirt or paint, so inspect the metal closely; do not sharpen a cracked blade for reuse. A deep gouge, major bend, or badly deformed cutting end is also different from ordinary edge dullness and calls for replacement guidance, not an attempt to grind the damage away.
A blade that repeatedly fails a balance check after careful sharpening should also be replaced according to the mower manufacturer’s instructions. Removing more metal to force balance can weaken the blade or change its intended shape. Do not improvise a minimum thickness, repair method, or replacement dimension; check the operator’s manual or contact the manufacturer for the correct part and service requirements.
By contrast, a uniformly dull edge without cracks, severe damage, or persistent imbalance may be restored through careful sharpening while retaining its original profile. Make the decision based on the blade’s condition, not simply how long it has been in use. When damage or balance remains in doubt, use the manufacturer’s replacement guidance and fit a suitable new blade.